While do-it-yourself projects can be fun and fulfilling, there is always a potential for personal injury or property damage. We strongly suggest that any project beyond your abilities be left to licensed professionals such as electricians, plumbers, and carpenters. Any action you take upon the information on this website is strictly at your own risk, and we assume no responsibility or liability for the contents of this article.
How to Update and Install Door Hardware
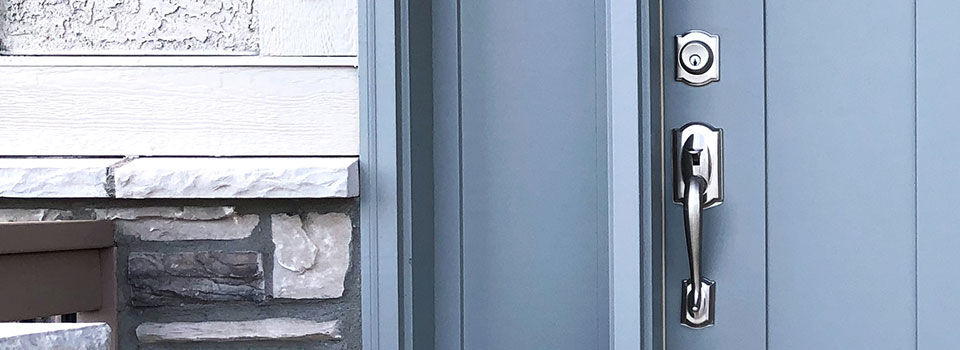
Front doors do a lot more than protect your home’s security. They’re the first thing visitors see when they approach your home aside from its general exterior appearance. If a visitor notices worn-out or outdated hardware on the door, no amount of careful painting will distract them. Yet updating the hardware on a front door, or even an interior door, is easier than you might think. It’s often even easier than trying to paint it. So grab a screwdriver or power drill, find some new hardware that you like better, and get ready to give your doors a quick makeover.
What to Replace
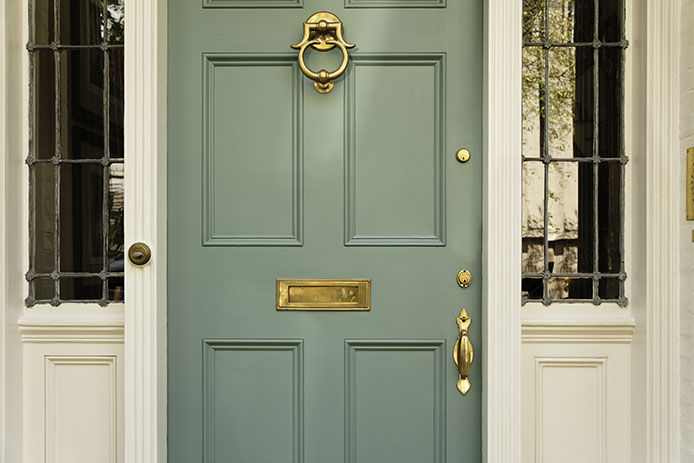
For a cohesive look, replace every visible piece of hardware on the outside of the door at least. If you need to replace or paint the hinges and replace interior-only features like slide latches, it's up to you. For interior doors, you’ll likely want to replace all of the hardware at once. On an exterior door, it’s common to need a new door handle, lockset, escutcheon, kickplate, andknocker. If any of these parts are missing from your front door’s design, either consider adding them or skip them as needed. Choose a new finish for all the parts, such as the popular matte black, and use the same manufacturer for each door to ensure a uniform look.
Interior Door Handles
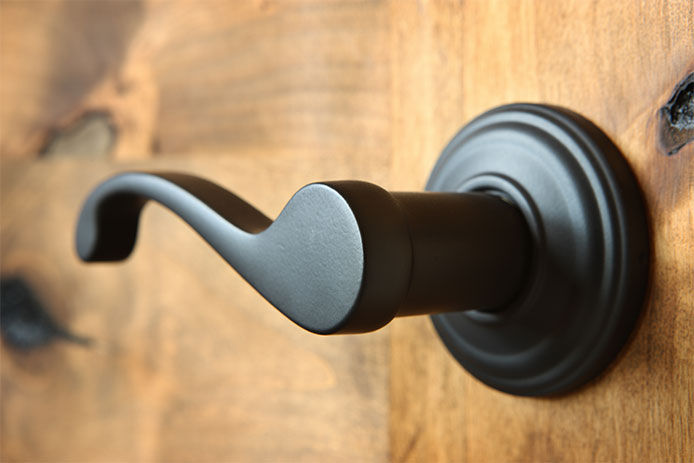
Dummy knobs and handles are used on closets and other doors without latches that just pull open. Changing out this hardware is as simple as unscrewing the handle and installing the new unit. Fill any exposed screw holes with wood putty and a dab of paint if you switch styles. Door knobs that latch or lock are a little more work to replace, but not much. The exact process works for both exterior and interior doorknobs.
Latching and Locking Door Knobs
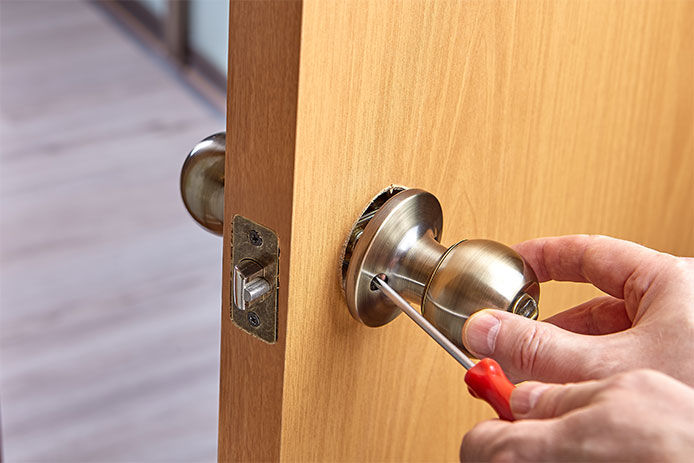
When interior door knobs lock or latch, they’re known as pass-through or privacy knobs. All front door knobs are similar in design, but they’re known as security knobs for their use of keys. Front door knobs are often known as handle sets because they’re generally sold with deadbolts that require matching keys. The process is the same, whether you’re installing a privacy knob with a simple push-button lock or a handle set for the front door. First, unscrew the latch plate on the door. Then remove the old knob from the interior side first. Check for screws and remove them if necessary, but many interior doors simply feature a slide-on knob on one side. Use a flathead screwdriver to wedge this knob off of the base slowly and gently.
Unscrew the other knob from the interior side of the door. Once it’s loose, the extending rod and knob should slide right out. Set all the screws aside in case you need to reuse some of them. Remove the latch mechanism from the center of the opening. Finally, remove the striker plate that’s on the door frame as well.
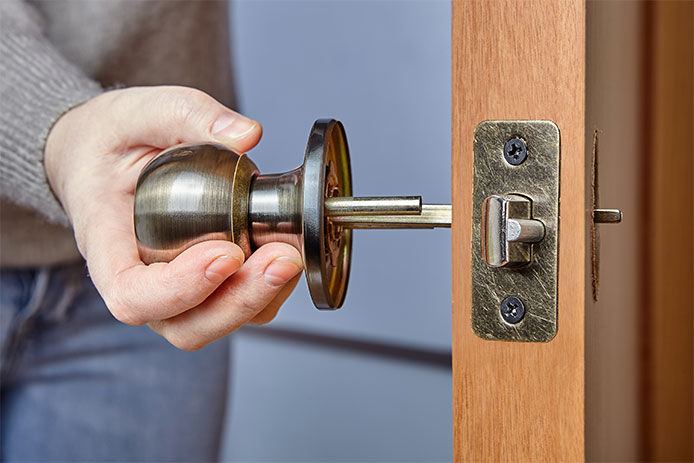
Make sure the new doorknob you’re installing matches the backset of the old hardware. This number will be stamped on the latch and should be either 2 and 3/4 or 2 and 3/8 inches. Each design should be available in both sizes, making it easy to match the previous installation without altering the door itself.
Start the installation of the new knob or handle by sliding the latch into the opening. Consider which way the door swings when aligning the catch itself, or the door won’t stay shut. The flat side of the latch needs to catch on the striker plate. After the latch is in, start by placing the knob that has the longer extended rod attached to it into the hole. This should be the exterior side of the door, but check it for a locking mechanism to determine. Make sure the rod slides through the latch and turns smoothly. Screw it on. Slide on the other doorknob and attach any small setscrews that may be included, then replace the latch plate and the striker plates. Test the spring on the latch, then test the fit of the door. Small adjustments to the latch and striker plates can ensure a smoother or tighter fit.
Deadbolts
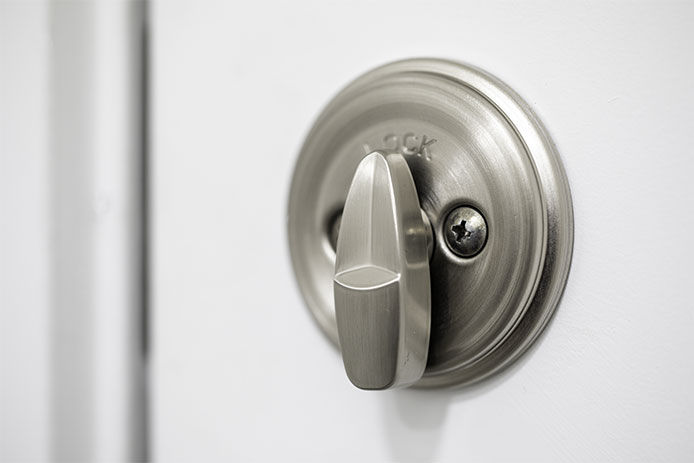
Deadbolts must be replaced along with the doorknob on a front door, so they’re included in most handle sets for exterior doors. Deadbolts will feature screws on their face on the interior side of the door. Unscrew those fasteners and slide the faceplate off. Use a flathead screwdriver to wedge the exterior faceplate off, making sure to check for any screws that might still need removal first. Take the latch plate off next, sliding it out with the latch after the screws after removed. Slide the next latch and plate into the opening and screw it in, then replace the faceplates and screw them in as well.
Other Hardware
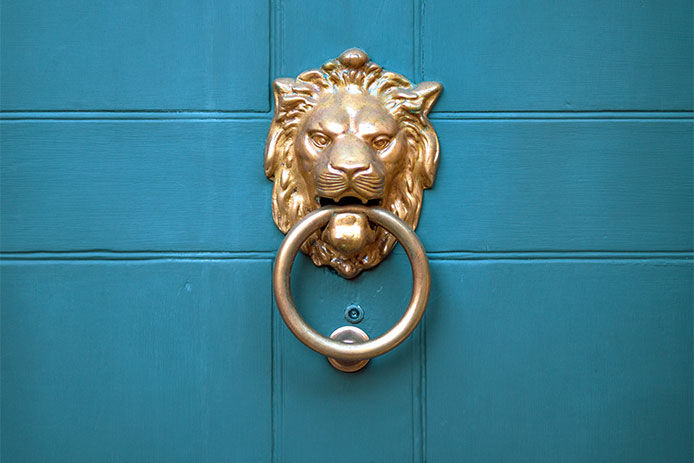
Secondary hardware on exterior doors like escutcheons, kick plates, and knockers are far less work to replace. Simply locate the screws holding them on, unscrew, and replace. Consider keeping the screws from the old hardware since they may fit better than shorter or thinner fasteners included with the new equipment. If the new hardware is substantially different in size or shape, you may want to paint the door for a uniform look without staining or discoloration.
Make sure to take plenty of measurements and consider the impact of the finish you choose when shopping for new door hardware. Interior doors benefit just as much from a hardware update as the front door does, so don’t overlook those chipped or scratched handles on closet doors too.